How to build & install insulation panels for Sunglo Greenhouse ventilation intake & exhaust fan
Supplies:
24” x 10’ double reflective insulation
2”x30’ reflective radiant foil tape
1 in. x 2 ft. x 2 ft. R-5 Project Panel XPS Rigid Foam Board Insulation
13.8 oz. Super 77 Multipurpose Spray Adhesive
(Wiggle Wire and Lock Channel) PE Coated Spring Wire and Aluminum Alloy Channel for Greenhouse
Tools:
Drill with a metal ⅛” bit
Rivet Tool
Qty 4 – 1/8 x .063 – 125 All Aluminum Rivet (4-2) – (.11 grip)
Gloves
Safety Glasses
Cutting Pliers
Hack Saw with 10 in. 24 TPI Bi-Metal Blade
Measuring Tape
Small bubble level
Carpenters square
Sharpie
Utility Knife
It is considered standard greenhouse practice to seal your intake and greenhouse exhaust vents once temperatures inside a greenhouse no longer exceed your high temperature set points. These openings are not airtight and will allow considerable heat energy to escape or allow cold winter winds to enter the greenhouse. I highly recommend sealing your greenhouse vents in late Fall if you plan to actively grow and heat your greenhouse as it will reduce your heating costs. Please read our article on Preparing Your Greenhouse for Winter for more helpful tips for energy efficiency and plant protection.

Before installing your Insulated Vent Panels on your greenhouse You need to disconnect or shut off power to your greenhouse exhaust fan and intake shutter. You should never operate those systems when the vents are sealed.

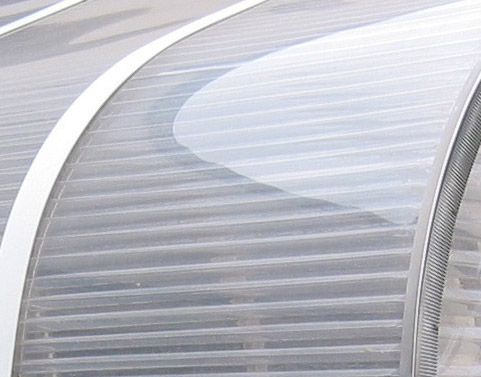
An installed insulated intake panel prevents cold winter air from infiltrating into the greenhouse
Assemble Intake Shutter Insulated Panel
1. With a Utility Knife cut a 15-⅞” square using the 1 in. x 2 ft. x 2 ft. R-5 Project Panel XPS Rigid Foam Board.
2. Unroll enough length of double reflective insulation to wrap around the XPS Rigid Foam Board from front to back.
3. Center the Rigid Foam Board width-wise on the Double Reflective Insulation.

4. Apply the Spray Adhesive on the double reflective insulation that will bond the Double Reflective Insulation.
5. Now tightly wrap the Double Reflective Insulation around the Rigid Foam Board leaving the edges open.
6. Cutting/trim the Double Reflective Insulation where the seams line up on the XPS Rigid Foam Board.
7. Use the Radiant Foil Tape to cover the seam on the Double Reflective Insulation.
8. Use the Radiant Foil Tape to close the two sides of the Double Reflective Insulation on both edges thereby creating a seam along the two outside edges on the XPS Rigid Foam Board.

This will be the Insulated Panel you will use to cover the Intake Vent.
Install the Insulated Shutter Panel
1. You will need to cut two pieces of Aluminum Alloy Wiggle Wire Channel to 16” lengths with the hacksaw
2. Remove any metal burs

3. Cut two pieces of PE Coated Spring Wire to 16” Lengths with the cutting pliers.
4. Test fit your Insulated Panel so that it is centered over your intake vent on the outside of the greenhouse. Making sure that it fully covers the intake opening.
5. Mark the location where the outer edge of the Double Reflective Insulation sits. Place a second mark 1/4” towards the intake. Do this for both sides. This will mark the location of the Aluminum Alloy Channel.
6. Place the 16” sections of Aluminum Alloy Wiggle Wire Channel on both sides of the intake vent frame lining up the outside edge of Wiggle Wire Channel at the second mark. Use a level to ensure the Wiggle Wire Channel is plumb.
7. With an 1/8” drill bit, drill and rivet using ⅛” Rivets approximately 2 inches from the top and bottom of Wiggle Wire Channel securing it to the greenhouse frame.

8. How it works – The PE Coated Spring Wire will be inserted inside the Wiggle Wire Channel over the top of the Double Reflective Insulation thereby pinching & securing the Insulated Panel over the intake opening. See pictures for reference.
Please note that this is a tight fit and will take some patience to secure the insulated panel into place. Inspect to make sure that the Insulated Panel is centered over the intake and create a tight seal.
Tip: Recommend that you caulk the holes on the intake frame to seal openings. See the reference picture.

Assemble Exhaust Fan Shutter Insulated Panel
1. With a Utility Knife cut a 14-⅛” square using the 1 in. x 2 ft. x 2 ft. R-5 Project Panel XPS Rigid Foam Board.
2. Unroll enough length of double reflective insulation to wrap around the XPS Rigid Foam Board from front to back.
3. Center the Rigid Foam Board width-wise on the Double Reflective Insulation.
4. Apply the Spray Adhesive on the double reflective insulation that will bond the Double Reflective Insulation.
5. Now tightly wrap the Double Reflective Insulation around the Rigid Foam Board leaving the edges open.
6. Cutting/trim the Double Reflective Insulation where the seams line up on the XPS Rigid Foam Board.
7. Use the Radiant Foil Tape to cover the seam on the Double Reflective Insulation.

8. As before, you will have a double layer of two outside edges of the Double Reflective Insulation overhanging the Rigid Foam Board. Now trim just one layer off of the Double Reflective Insulation for both edges.
9. Apply the Spray Adhesive on the double reflective insulation that will bond the Double Reflective Insulation just to the edge of the Rigid Foam Board so that when you fold it over it will bond only to the edge of the Rigid foam Board. This leaves you with flaps on either side which will be used as handles to remove the Insulated Panel from the exhaust fan frame on the outside of the greenhouse.
Install the Insulated Exhaust Panel
1. How it works- Locate the greenhouse exhaust fan on the outside of your greenhouse. You will notice that it has a square frame. You will insert your Insulated Exhaust Panel into this frame making sure that the edge flaps face toward you. The edge flaps will act as handles when you need to pull out and remove the Insulated Panel.
Make sure that the Insulated Exhaust Fan is firmly seated inside the exterior frame of the greenhouse exhaust fan. It should be a tight fit so it completely seals the opening.

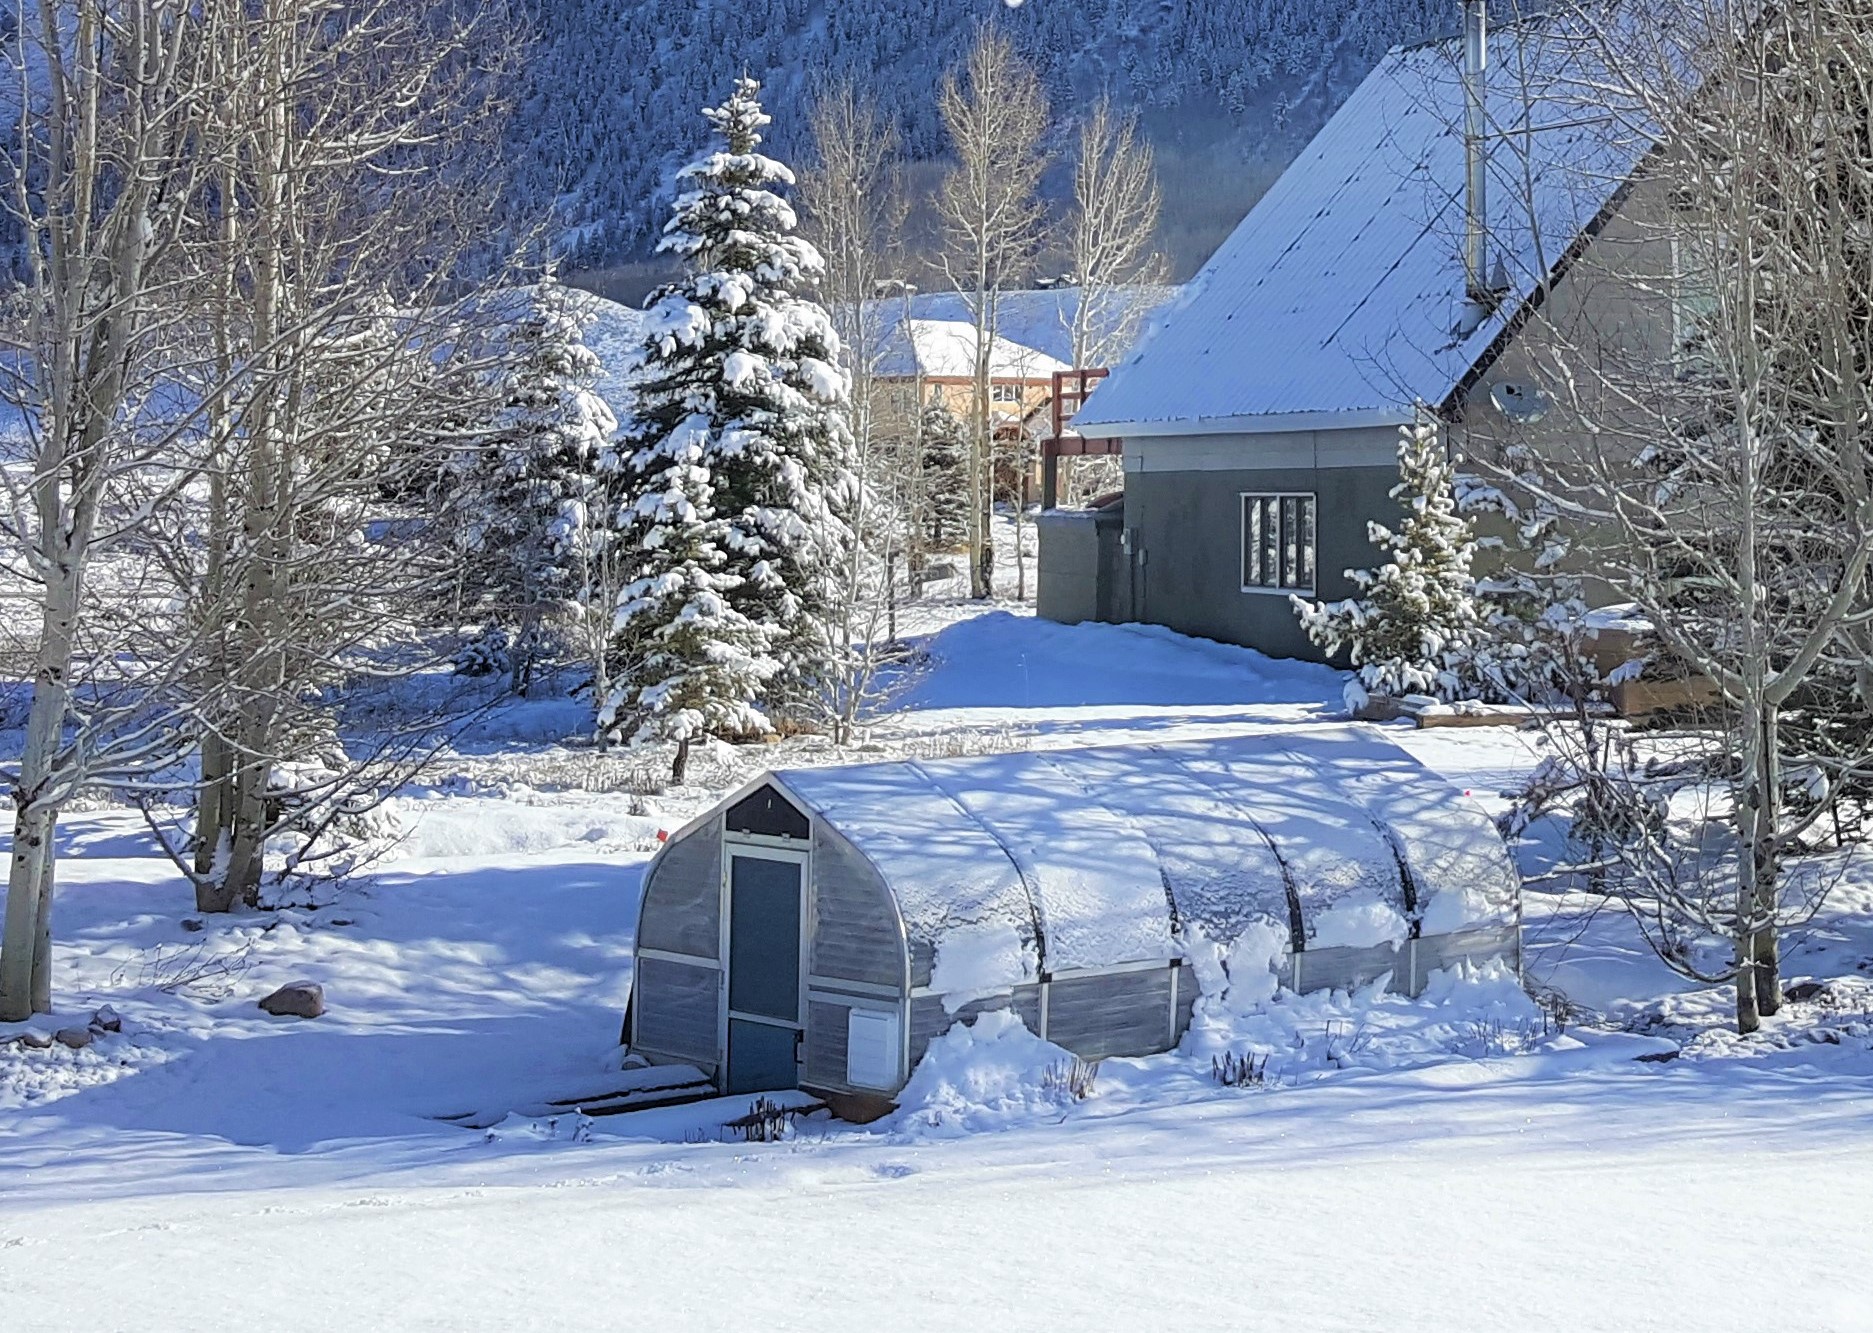
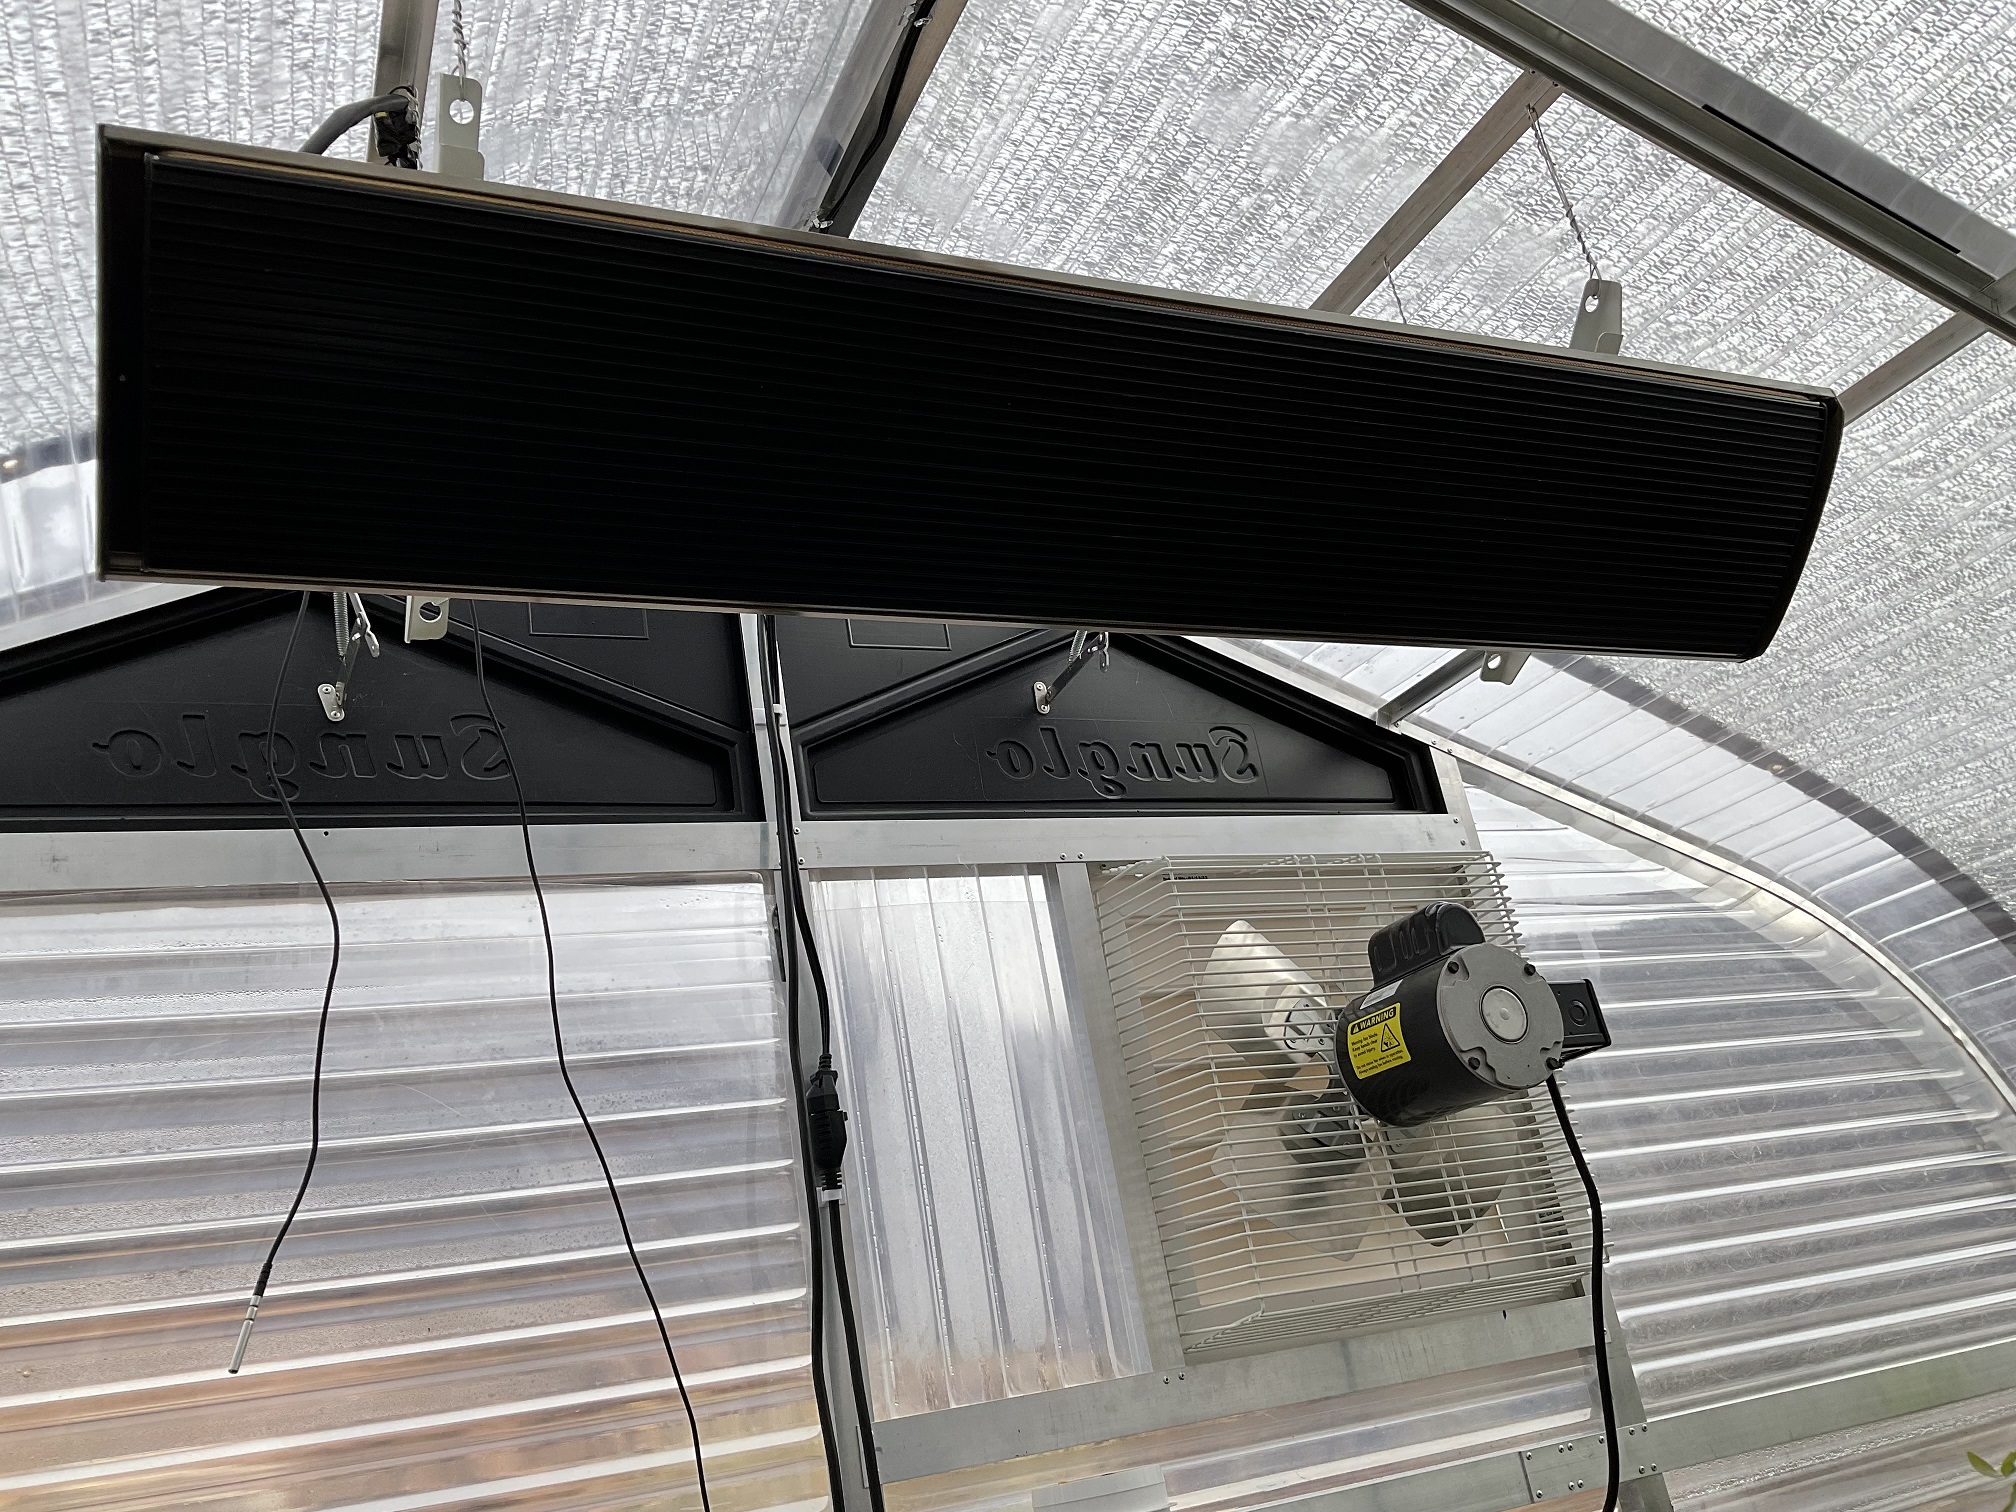
8×10 Sunglo Greenhouse with an insulated panel installed over the exhaust fan vent.
Conclusion
Properly winterizing your greenhouse by installing insulated panels on your intake and exhaust fan vents will help you save on heating costs and protect your plants from the harsh winter elements. By following these steps, you can ensure a cozy and energy-efficient environment for you and your plants.
If you would like a PDF copy of this guide please send a request to paul@sunglogreenhouses.com
Call our team of experienced greenhouse growers at 720-443-6761 to learn all the benefits of owning a Sunglo Greenhouse.
Start Living the Sunglo Life Today!!